Fall 2021 Is Here
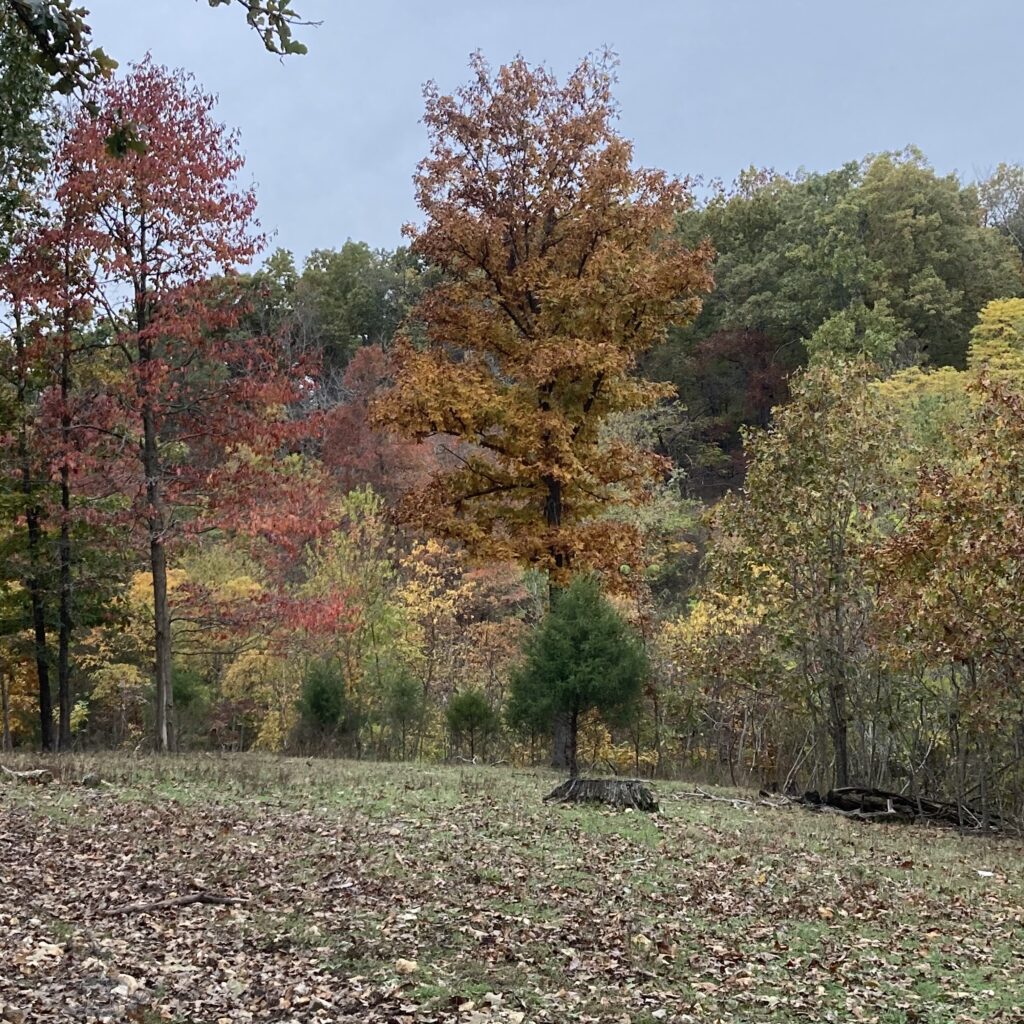
Fall is certainly here! The weather has been cooler, leaves are turning color and you can smell the warm smoke of fireplaces and wood stoves on the cool mornings and evenings. As we see and feel fall approaching, we feel the urgency to prepare things for the winter while looking forward to it slowing down a little from all the hustle behind us.
How we Plant, Harvest, Cure and Store Potatoes
We have been harvesting a lot of gardening produce to cure and store. Several days ago we dug up our potatoes. We had an extremely abundant harvest of regular potatoes. We planted them in 4 foot wide raised beds with very fine soil. In previous years we simply rotor-tilled the soil, laid the seed potatoes in shallow trenches just barely covering them with soil and them mulched them with a thick layer of straw immediately after planting in order to suppress weeds. Mulching with straw has always worked wonderfully, but this year we did not mulch with straw thinking the potatoes would have a better start. They did come up fast but so did the weeds. The weeds were particularly awful and were near impossible to control.
In spite of the weed pressure we still had an abundance of nice regular potatoes. However, next year we will improve on the weed control by covering the potatoes with a thick layer of straw immediately after we plant them. And since the raised beds worked so well we will continue to plant them in raised beds as this keeps the seed potatoes from getting waterlogged during our wet Spring weather.
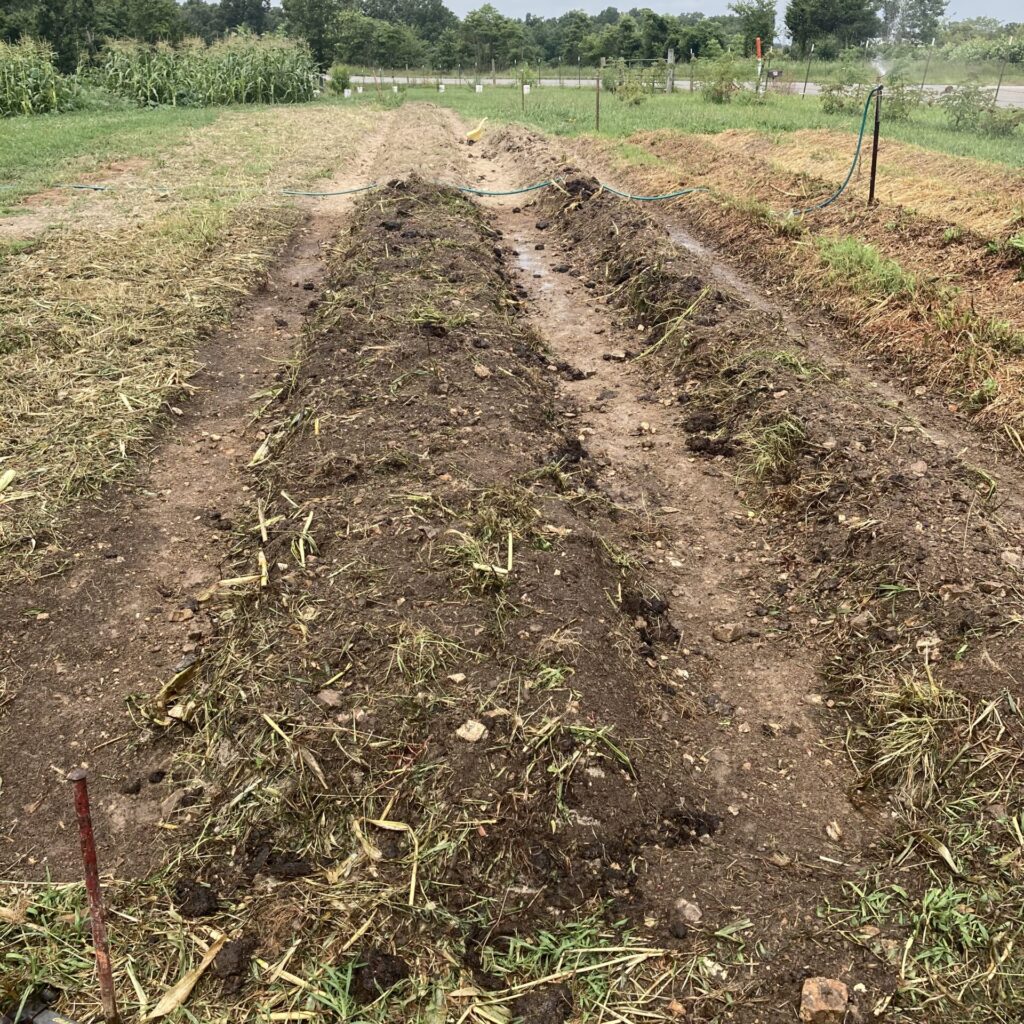
To harvest and store them we dig the potatoes up with a potato fork, brush the dirt off of them and spread them out somewhere for a few days out of the sunlight where they can dry and the skins can harden and cure. If they get exposed to the sun they will turn green and are ruined. After a week or two of curing we sort and store them in a cool dry area in bins with good airflow. Air flow is very important for storing these vegetables. In the past we just simply stored them in plastic tubs but that was problematic because of the lack of air flow. In these tubs with little to no airflow the potatoes near the bottom half would get soft and start rooting. To solve this issue we are designing some wood crates to store the potatoes. Another option I found for good vegetable storage would be these plastic collapsible bins on Amazon
How we Plant Sweet Potatoes
Last year was the first year we did sweet potatoes and they turned out huge and delicious. We bought our sweet potato starts from Gurney’s Seed & Nursery last year and got two varieties. But this year we started our sweet potato starts by selecting a few sweet potatoes from our bin about 10 to 8 weeks before planting. We laid the sweet potato sideways half buried in some potting soil and kept it moist. When there is plenty of sprouts we gently pull them off the sweet potato and placed them in a jar of water to start rooting. We take them out of the jar when the weather is warm enough and some roots have developed on the the starts in the jar of water. Most of the sweet potato starts we transplanted rooted and grew well.
My recommendation: If you do start your own sweet potatoes I recommend going to a natural food store and buying your favorite sweet potatoes. The reason for this is if you grow two or more varieties for yourself in the same garden they will cross pollinate, which is fine if you eat them. Just be careful about using your cross pollinated sweet potato for starting your plants the next year. You have no idea how those plants will turn out. You may be pleasantly surprised by your hybrid or woefully disappointed! Just be AWARE. I have made that mistake.
Care and Maintenance of Sweet Potatoes
As the sweet potatoes grow be careful to water them consistently but not too much or continuously. Sweet potatoes do not like too much water they actually prefer the soil a little on the drier side. Sweet potatoes do grow well but seem to take their time developing the vines until the weather gets hot in August. Then suddenly they fill out growing vigorous vines until they are harvested
When to harvest Sweet Potatoes
We wait to dig up and harvest the sweet potatoes until October just before the first frost. If a frost hits the vines it immediately kill the plant and ruins the sweet potatoes in the ground. When we harvest them we carefully remove the vines and then dig up the sweet potatoes like regular potatoes with a potato fork. This is where raised beds with loose soil make the job of digging them up easy. This year I had half of the sweet potatoes planted in a place where there was about 8 inches of broken down wood chips and compost from several years ago; while the other half were planted in rich soil that was heavy clay. The sweet potatoes that were planted in the wood chips did very well even though they were not in raised bed, however, the ones planted in the clay soil did not produce as nice and as big of sweet potatoes. It appears that the clay ground likely held too much water around the growing sweet potatoes hindering development along with the fact that the clay ground may have been too compact and hard for the sweet potatoes to penetrate, spread out and develop. What ever the real reason is it is obviously, from my experience the last two years that sweet potatoes do not like the heavy clay soil!
Curing and Storing Sweet Potatoes
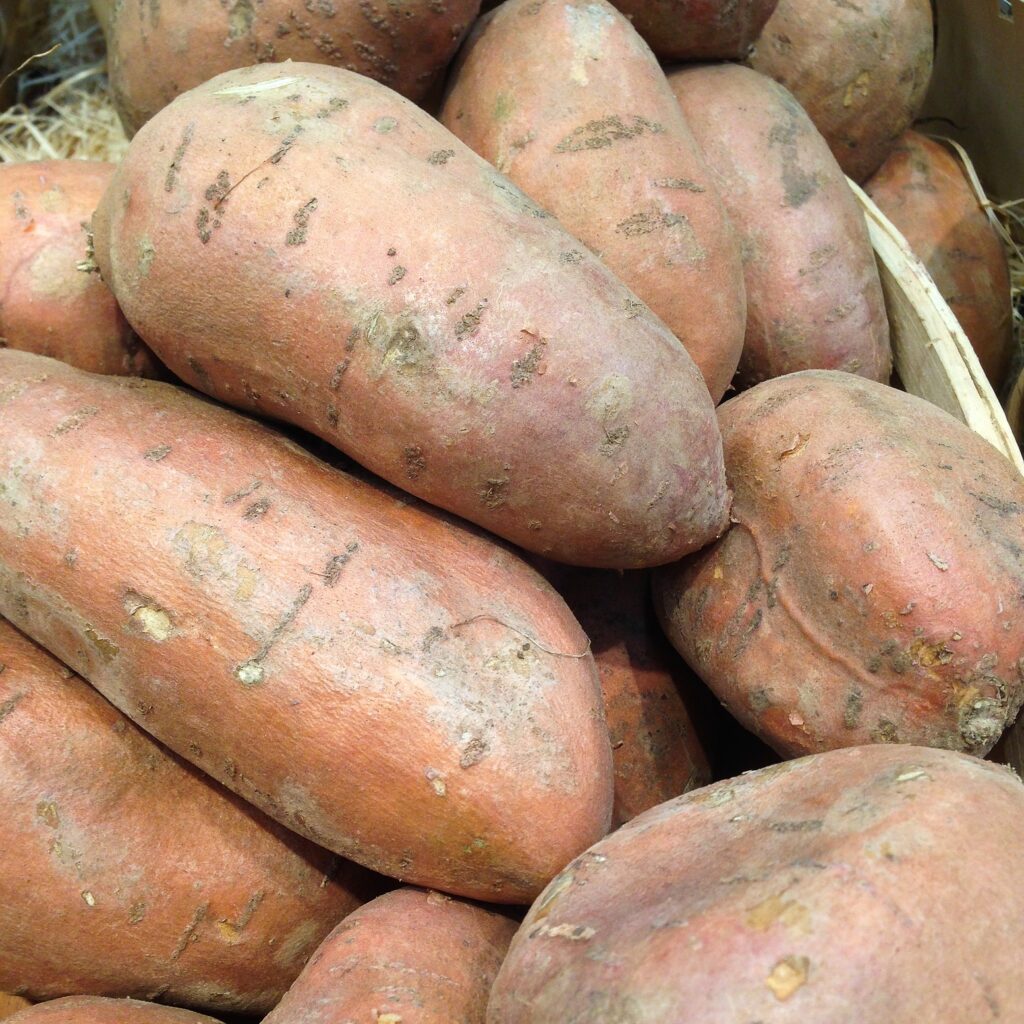
After we harvest the sweet potatoes we brush the dirt off of them and spread them out somewhere for a few days out of the sunlight where they can dry and the skins can harden and cure. Once they are good and dry they can be gathered up and stored but should continue to be in a warm place for up to two weeks to finish the curing process. You can eat them right away but the two week curing process is important since it allows the sugars in the sweet potato to change. It is after the curing process that sweet potatoes take on the health benefits they are renowned for having.
Store the sweet potatoes in bins that provide good air flow. Air flow is very important for storing these vegetables, in the past we just had them in plastic tubs and all the vegetables closer to the bottom would get soft and start rotting. So we are designing and building some wood crates to store the sweet potatoes. Another option I found for good vegetable storage would be these plastic collapsible bins off Amazon
Raised Beds for Sweet Potatoes Next Year
We love our sweet potatoes and thought our crop could have been better. We think that we can improve our harvest significantly by growing them in raised beds. We will amend the soil using wood chips and a little compost but not to much, since sweet potatoes like poorer soil. With these little changes we should be able to significantly improve our crop. The raised beds will keep the roots from sitting in water and provide the loose soil for the sweet potatoes to push through the ground developing and spreading out.
Tomatoes, Peppers, and Green Beans
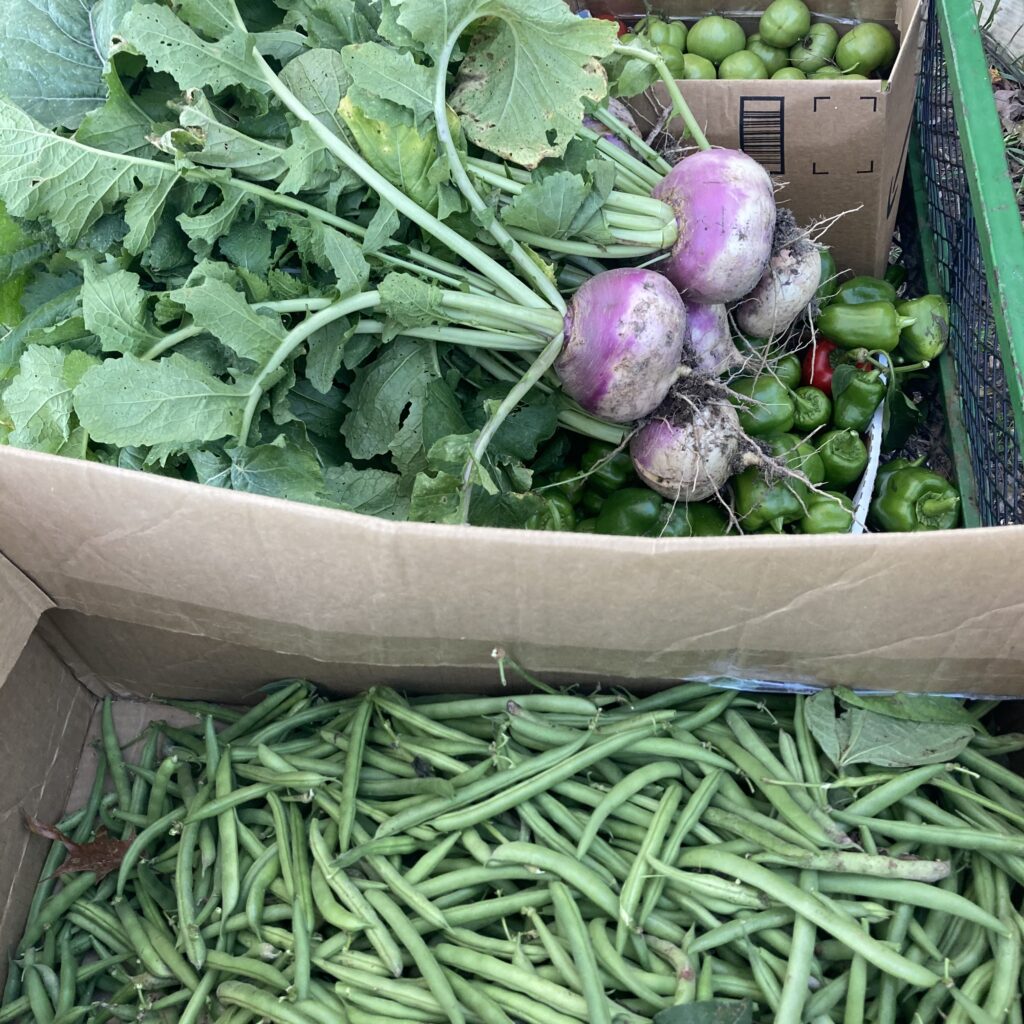
This fall we harvested the last 50 pounds or so of green bush beans and a huge box full of bell peppers. Just a side note, speaking of peppers we had an abundance of jalapeño peppers and bell peppers this year. This was the first year we did peppers, and I tell you they were bountiful! This made a surplus of salsa, pickled jalapeños, and a half a dozen delicious jalapeño jam flavors.
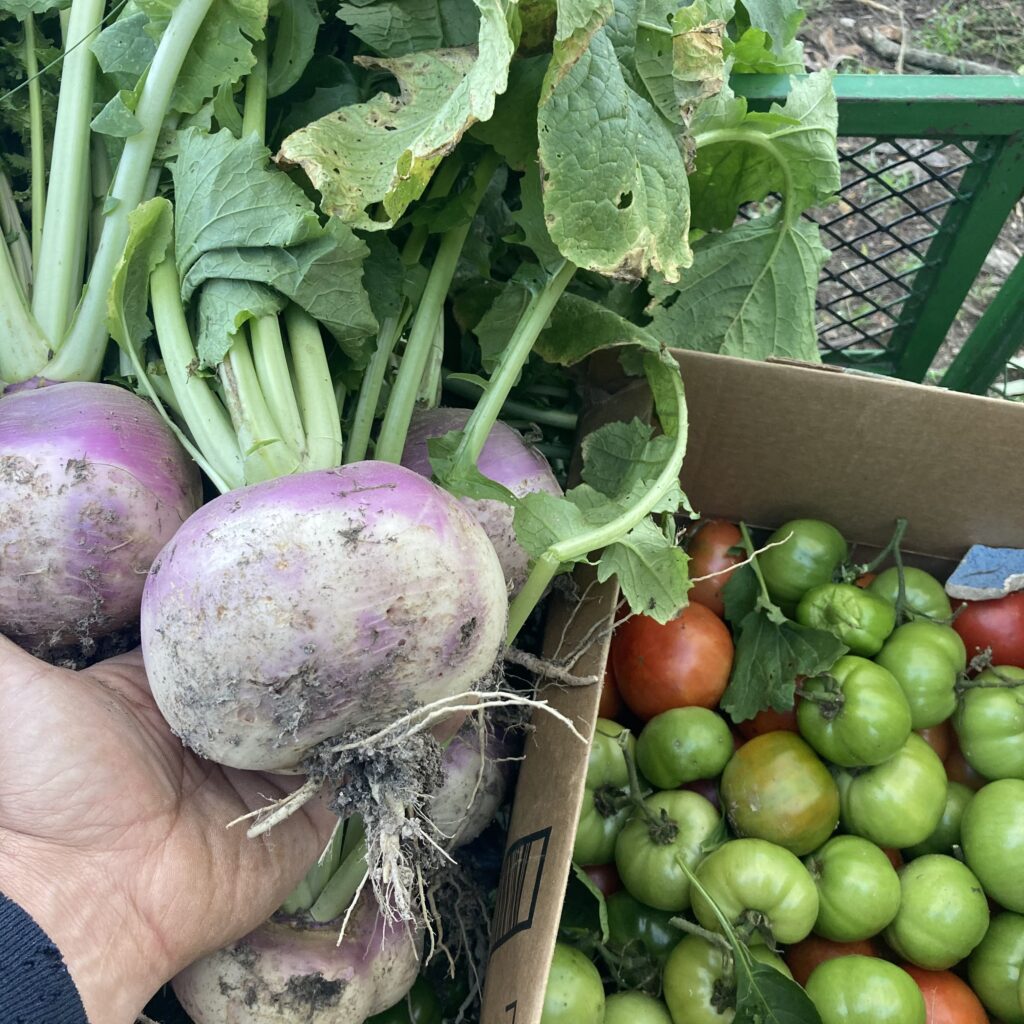
As for the beans, our spring crop was not as good as our fall crop. The Spring Season here in southwest Missouri is usually too wet for beans if not planted in raised beds. So next year we know to focus our bean planting for a fall harvest which is usually planted by the end of July beginning of August. With all this produce our freezers and shelves are full of pickled vegetables, canned recipes and jams of all sorts. We just need to figure out what to do with all our turnips and daikon radishes!
Long Island Cheese Pumpkins and Squash
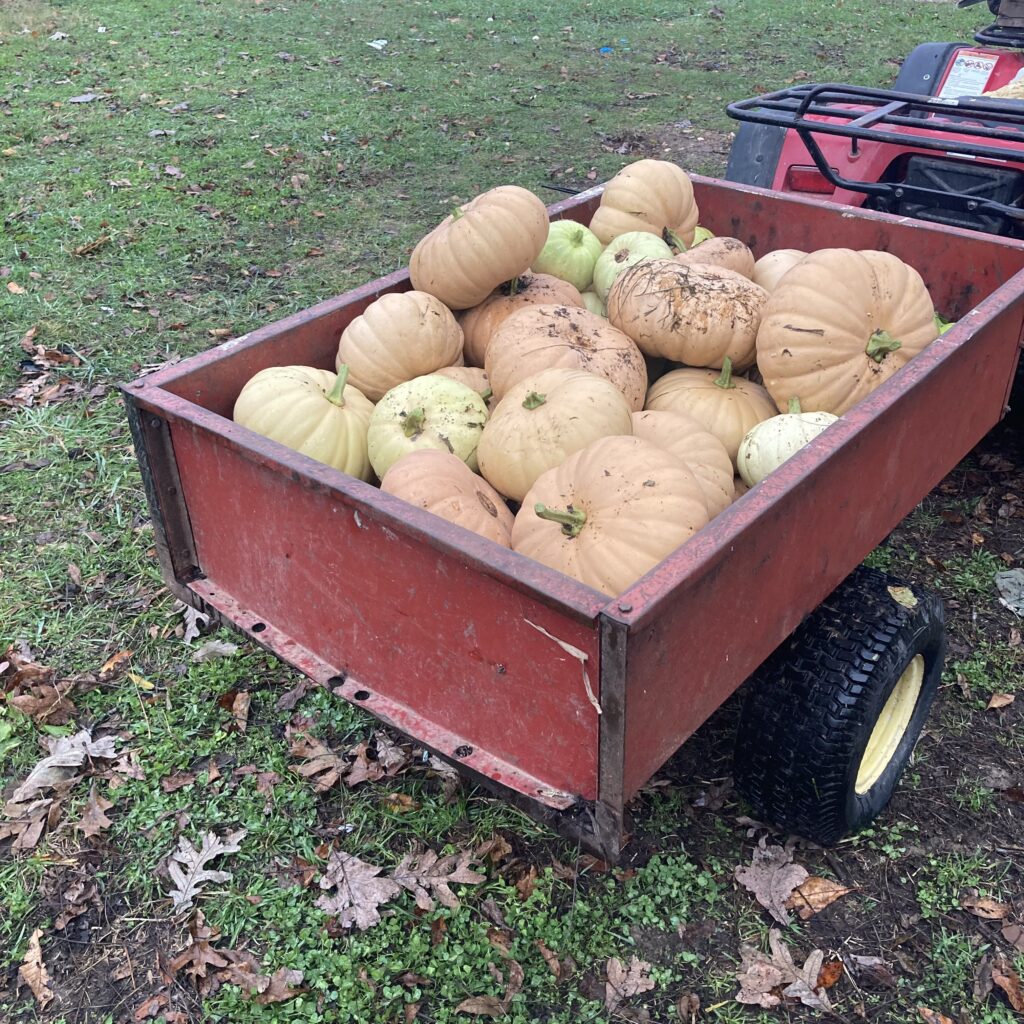
We picked the last of the tomatoes before the frost and then moved to harvest Long Island Cheese pumpkins and Butternut Squash. Even though the butternut squash did all right I was thoroughly amazed with the Long Island Cheese Pumpkins. They are a very aggressive plant. Even in less than ideal soil, and not being planted in raised beds, they still spread well over 30 feet around and produced tons of delicious pumpkins. Not only that, these pumpkins were so aggressive that they were able to resist the squash bug load that eventually killed all our other squash. They are an amazing pumpkin plant.
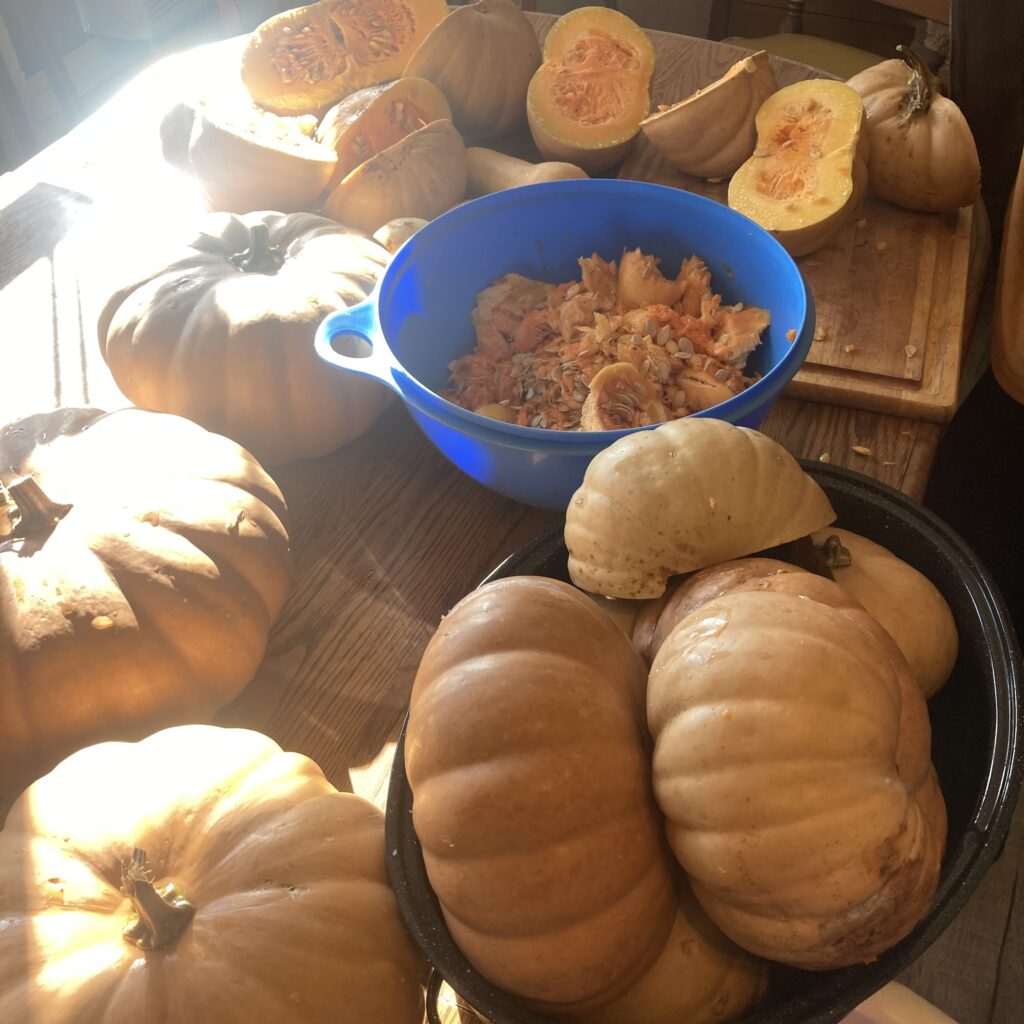
I highly recommend growing them. I am looking forward to all the pumpkins we can eat. Our chickens are also looking forward to some. They love them, and they eat every last bit of whatever scraps and less than perfect pumpkins I give them. Like our chickens, I look forward to eagerly indulging myself on every last bit of the sweet pumpkin desserts and dishes from our endless supply of Long Island Cheese Pumpkins with friends and family!
Walking Egyptian Onions and Garlic Fall Planting
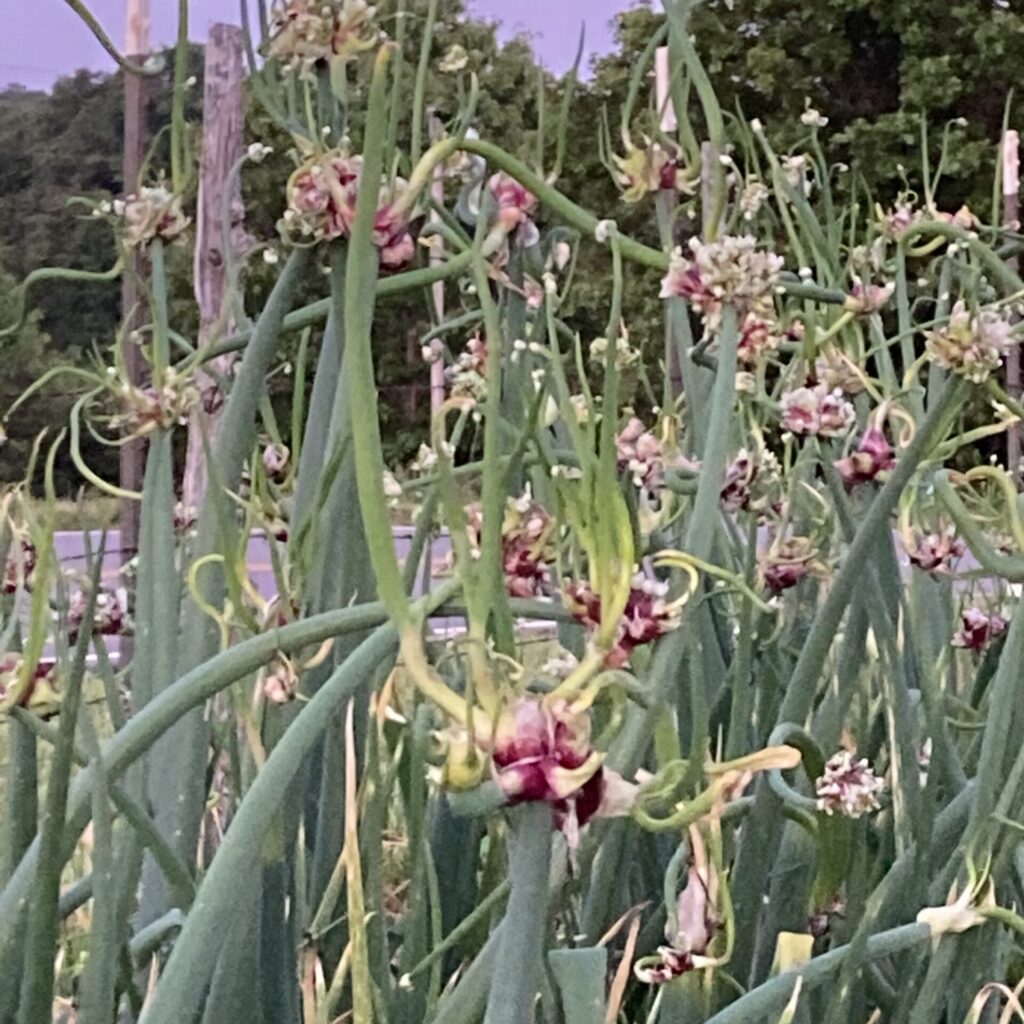
We not only have lots to gather and harvest in the fall but we have much to plant also before it freezes. We have made over five 3 foot wide raised beds around 100 feet long by hand for all the garlic and Egyptian Walking Onions. These Alliums do best when planted in the fall before it freezes. In fact, it is best to plant garlic around the middle of October so that it has time to root down and get established before the ground freezes solid and starts heaving. Egyptian Walking Onions are not as fussy as garlic, they can be planted anytime the ground is not frozen but really do the best when they can be established in the fall like the garlic, before it freezes solid. So, this is the reasoning behind working hard to plant all our Alliums while harvesting our other goods.
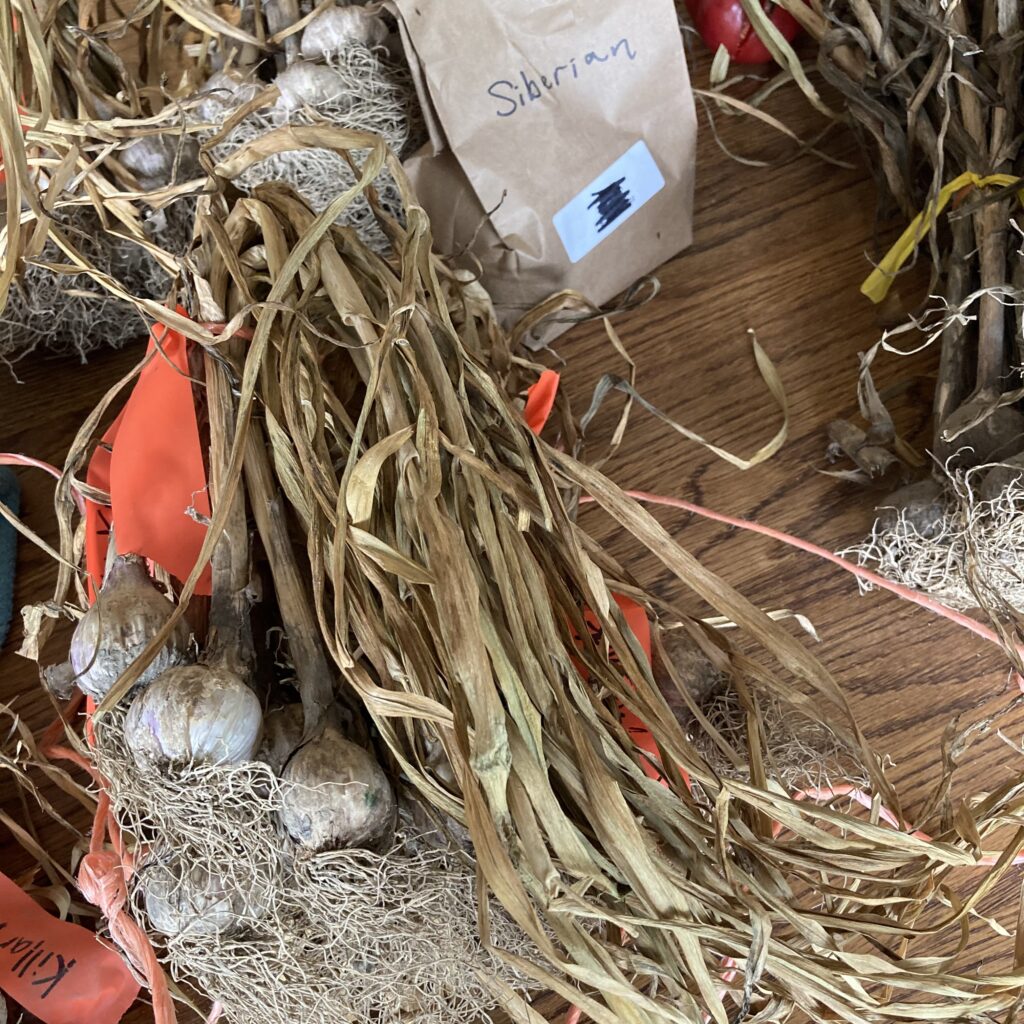
We planted a lot of Alliums; nearly 2000 feet of Egyptian Walking onions have been planted and mulched already but I still have several thousand seed bulbils I can plant if they do not sell! Try some yourself. You can get them on our online store: they really are a must have in every garden! I will have to make more raised beds before I plant the rest of the Egyptian Onion seed bulbils though.
I also planted 8 varieties of hard neck garlic which will be about 1500 feet of plants. Lastly I will be planting over 500 feet of Multiplier Onions. This is a lot of garlic, multiplier onions and Walking Egyptian onions, but we are planning to have lots to sell next fall. It is a ton of work but the harvest is always rewarding.
Falling into The Homely Holiday Season
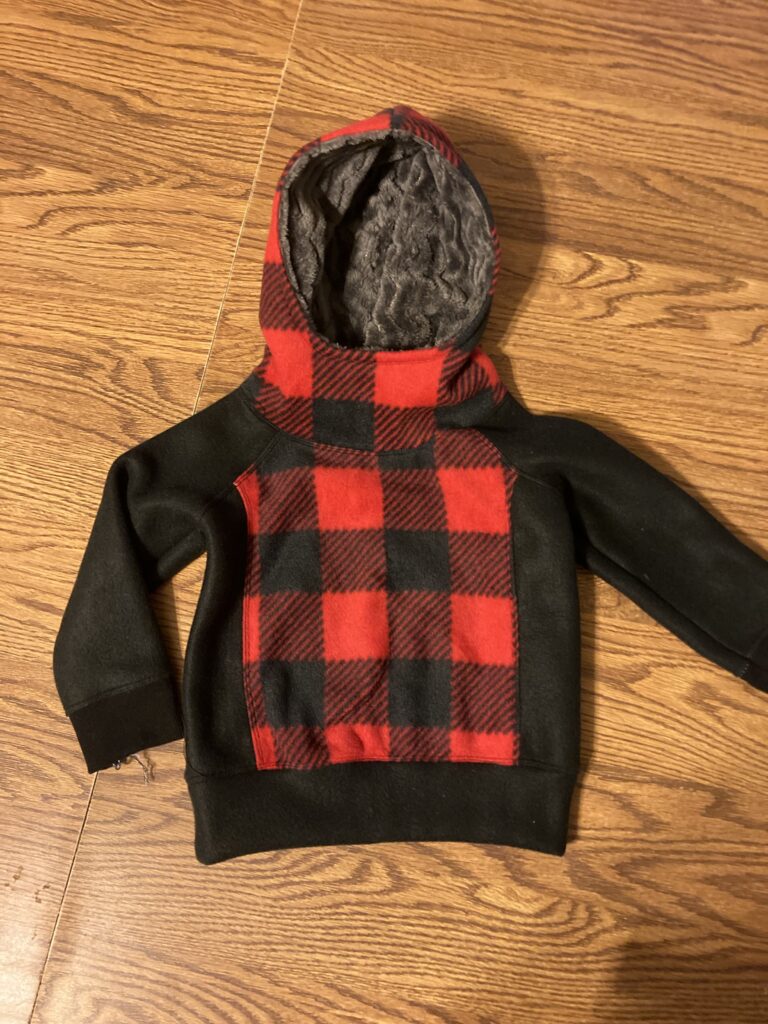
As the harvest is getting squared away lots of bread is being made in our kitchen with numerous pies, jams and other baked goods. Kambocia is culturing and comfrey is being diffused in olive oil for our cremes. Late in the evening the sewing machine can be heard racing through fabric putting together all the sewing orders before Christmas. The number of sewing project orders are piling up! Christmas is coming and people want lots of clothing made from sweaters, skirts, dresses, baby gifts, maternity clothes and so on. Basically whatever you think of we try to make it and are usually successful with it. Lastly the welding projects keep piling on as well. People know that winter is coming and it’s a little harder to do those things outside when it is freezing. People want fences improved by Spring, corrals built and other custom projects made. We even have some hay cradles to finish up and sell quickly while people are needing them with the winter coming on. And in the other corner of the house is a pile of tree tapping equipment that needs to be re cleaned and readied for sugar tapping the Walnut trees in January.
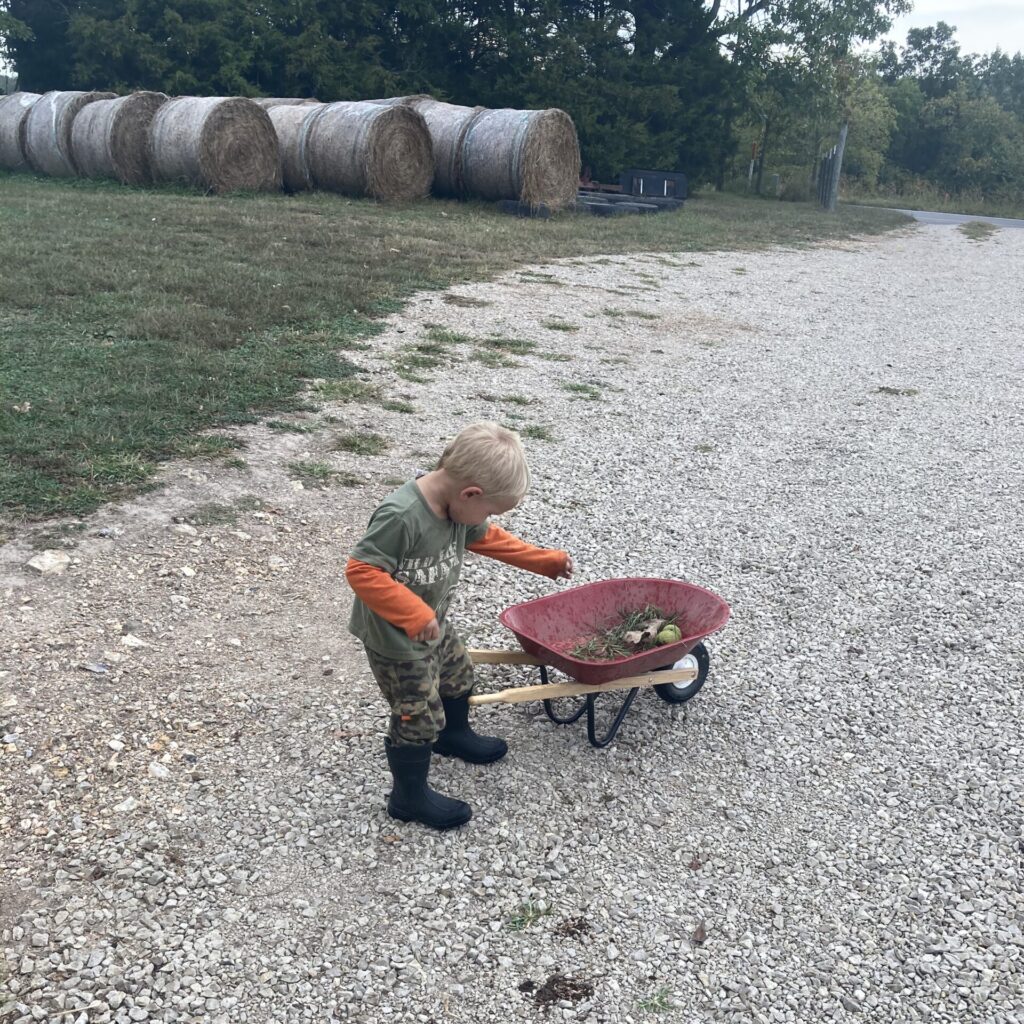
With all that’s going on we are busy, never a dull moment, but our hope is that as our children grow up watching us work hard, and helping us, we hope and pray that they will learn to work hard and be a blessing for those around them.
Soon we will also begin to harvest our Jerusalem artichokes looking forward to some delicious recipes and to selling an abundance of them.
PS. I hope I can get my wood cut before it’s cold.
